Your cart is currently empty!
Stanley Hand Planes

When you decide to purchase one of the many Stanley hand planes, there are a few things that you need to keep in mind. The main ones are the shape of the knobs, the shape of the adjustment levers, and whether or not they have a ground #3 lever cap.
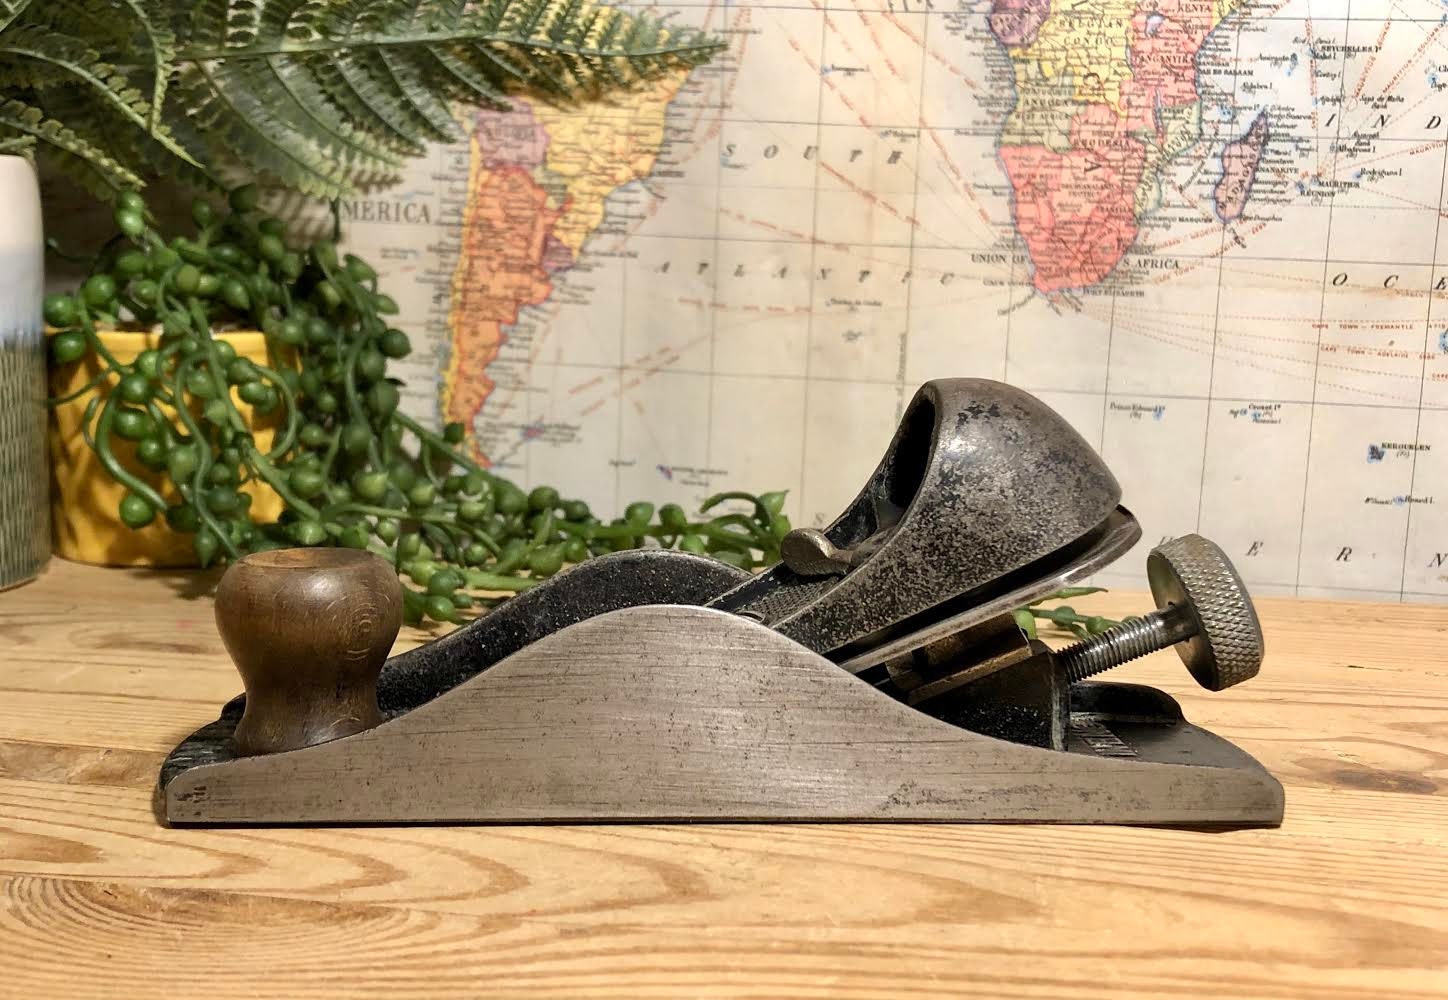
Rejuvenating an old Stanley Bailey plane
A restored Stanley Bailey hand plane is a fantastic way to begin woodworking. Restored tools are often more useful than their commercial counterparts. The process of refurbishing a vintage tool is both fun and rewarding.
It is not difficult to restore an old hand plane. But it does require some knowledge and a bit of work. To get started you’ll need to remove the plane from its original condition, including any sharpening and finishing.
One of the most important steps is to remove any rust. Rust can be removed using a wire brush or rust remover. If rust is very thick, it may require an angle grinder. After removing the rust, rinse the body in clean water and allow it to dry.
You can also replace missing or damaged parts. When you are replacing components, remember to use the correct drill bit for the job.
Require a ground #3 lever cap
There are a few ways to remove a #3 lever cap on Stanley hand planes. One is to use a flathead screwdriver. Another is to grind down the lever to a size that fits your plane. Finally, you can purchase a replacement.
Originally, the Stanley lever cap had a symmetrical key hole. This allowed the cam lock to be positioned in two different positions. However, over the years, this design was changed. Eventually, Stanley produced a lever cap with a kidney-shaped hole. Using this version of the lever cap, you can adjust the position of the fork with less effort.
The Stanley Model Shop planes are usually painted black and span about 60 degrees. They also have tilting handles and a built-in oiler. If you’re looking for a good deal, you can find a number of vintage Stanley tools on eBay. Whether you’re buying for a collector or just want a set of smoothing and plough planes, you’ll find a number of bargains there.
Knobs are squatty or mushroom-shaped
Stanley bench planes have rosewood or cocobola totes. They are covered with an orange paint. These totes have embossed “B of E” (Board of Education) on both sides. There is no number cast on the plane, but the frogs are stamped with “PAT’D/MAR-25-02/AUG-19-02. This frog design was also used by Millers Falls Bench Planes.
The #4C smooth plane has a built-in oiler. It is about nine inches long and weighs 3 3/4 pounds. The oil is drained through perforations drilled into the sole.
The Stanley Bailey patent bench plane is a staple for the company. Although it is not the same plane that Bailey was working on in the 1860s, there are many variations. It has been called the bread and butter of the company.
They don’t follow the study well
Stanley has been a toolbox of the world for over 100 years. They’ve developed tools that have been known for their performance and mass production. However, there have also been many problems with their products. For example, the frogs of their planes are often inconsistent, and the markings on their irons are not consistent.
Some of the early Stanley tools are notable for their gaudy appearance. These include their Two-Tone line of tools, which is marked with an OH before the size. The Two-Tone cutters are difficult to sell, as they look like random paint jobs on the planes. A used one may also be found, but unless it’s serviceable, it’s not worth buying.
One of the most iconic Stanley tools is the Bailey bench plane. This bench plane was made for a year in 1885. It was designed by Leonard Bailey, a Massachusetts artisan. He experimented with several designs before settling on the style that is still produced today.
They don’t have a lateral adjustment lever
If you’re looking to buy a new hand plane, you might be surprised to know that most of the models from Stanley do not come with a lateral adjustment lever. This is because the earliest models were made without one.
The lateral adjustment lever is attached to the top of the frog with a small pin. It can be loosened and then tightened when the cam is pushed into place. Using the lateral adjuster, you can position the iron parallel to the sole.
However, you can also use a depth-adjuster wheel to position the iron. When the wheel is in position, you can feel the nut on the iron’s end and set the depth.
Another option is to purchase a plane that has a lateral adjustment lever, but was made before it was introduced. Some of the early models were made with a simple 3/16″ hole in the top of the frog, but no lateral adjustment lever.
by
Tags: